

This is a nice looking Balinese design Koi fish pond, with a pebble apron. And this picture will be good for only about six months.

Thereafter, the grass and weeds will invade the apron and the side of the pond.
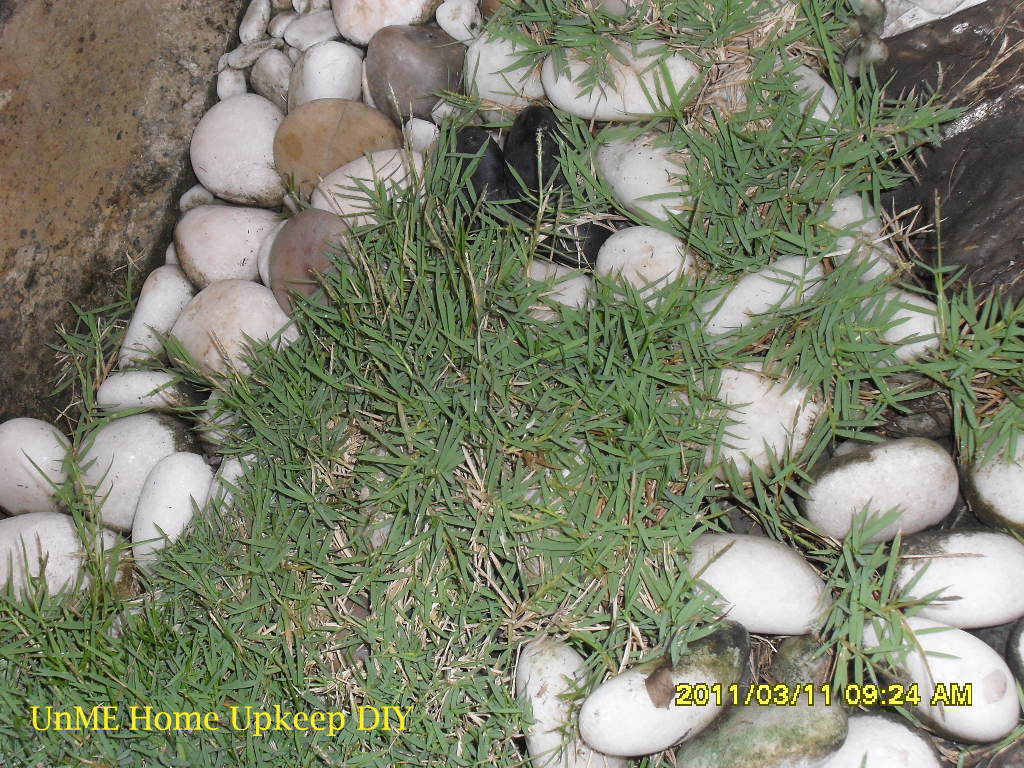
Thereafter, the grass and weeds will invade the apron and the side of the pond.

This Koi fish pond was designed and built by an Indonesia Koi pond expert. Everything was in a perfect condition, until the weeds and grass appeared among the pebbles. My initial solution was just regular weeding. The grass and weed were too pervasive and invaded the gaps between the tiles of the pond. They were perpetual nuisance. A permanent solution is required.
 I decided to build a concrete slab apron, with pebbles spread on top of it, in order to retain the feature. A contractor’s quote for the job is RM2,000.00 (USD666.00) with material and labour supplied. I pondered over the quotation for a couple of weeks, before deciding to go DIY.
It will be a tough job to complete the apron at one go and single-handedly. This will take at the least three full day of 8 manhours per day.

I wanted to do this at my own leisure time and enjoy the DIY.
I did not set a target completion date and without a fixed work schedule. If the weather is kind to me, I will work on that day and not more than 3 manhours per day so as not to exhaust myself.

Material required are sand, cement, thick cardboard, 1"X2” wood and steel bar. The steel bars are used to re-enforce the concrete slabs and prevent cracks. The thick cardboard and wood are for formwork.

One and a half bag of cement (75kg) and one excavator bucket load of sand (local hardware shop sell sand by excavator bucket load) is required. Total cost is RM135.00(USD45.00), excluding the tools.
The first task is to remove all the pebbles. Then, remove the invasive roots of the grass thriving underneath the pebbles. This is followed by the removal of top soil.

Prepare the cement mix with 1:1 cement/ sand ratio and mix with water thoroughly. The amount of water will depends on the condition of the sand (dry or wet) and the required viscosity of the mix. There is no formula for the amount water.


