Tuesday, December 28, 2010

Motion Sensor Light

This sensor adaptor from " AVA" Taiwan, is fixed to a table lamp
This cost RM55.00.  Just take out the bulb and fix this adaptor into the bulb
holder. Then, fix the bulb on top of the adaptor
.

Do you ever have a strange notion in the midst of sleeping? A state of mind that is vague and  uncertain of oneself.  One is not sure if one is dreaming or in a semi conscious state or is fully awake. I have this experience  whenever I have the urge of easing myself in the middle of the night. Yet, I wasn’t sure if I am in a sub-conscious state of mind, dreaming or actually awake. My hand moves by reflex action to locate the light switch beside the bed. In the darkness, I occasionally push down the alarm clock and the glass ornaments on the side table of the bed.

Close up of the sensor. The red blinking light
indicates motion is detected.
That was history. I have overcame the problem with the PIR Sensor (Passive Infra-Red Motion Sensor) way back in 1988  I bought the first PIR sensor light for RM550 ringgits. This was a proud Malaysian invention by two engineers from Sitiawan.
This is my first Motion Sensor table lamp
purchased in 1988 for RM550.00.
This motion sensor was invented by two Malaysians.

The first generation motion sensor lamp by NOVAL.

Since then, I cannot go on without the PIR sensor light.

This is the second generation sensor lamp by
Noval (Malaysian Invention)
Now, my house is equipped with PIR sensor light in every rooms and at every corners of the house.. I don’t have to  grope in the darkness anymore..  I just simply walk around the house at night  and the light switch on automatically and switch off by itself after the set timing (2 to 15 minutes) expires.

This is a sensor adaptor mounted on a table lamp
This is "AVA" brand sensor made in Taiwan
The cost is RM55.00 
Most PIR motion sensors are also equipped with a photo sensor. The photo sensor can be set to the required degree of brightness or darkness (called LUX) to activate the motion sensor. If one set the LUX to absolute darkness, the motion sensor will only activate and switch on the light when the surrounding is in total darkness and motion is detected.

There is also a built-in timer to set the duration of on/off lighting The motion sensor will switch off the light after the set duration expires, unless further motion is detected.

This "Plug & Play" sensor adaptor fits any standard E27
screw-type bulb holder
Some PIR Motion sensor light are sold in ‘Plug and Play” package. They come in the form of table lamp, stand lamp, wall light and ceiling light. Just plug into a 3-pin socket or connect to AC wire (Live and Nuetral) to operate. One can also purchase the PIR motion sensor gadget separately and  connect to the exiting light fixtures.

The PIR motion sensor light are available at most electrical lighting outlets. The price of this gadget has reduced from RM550 in 1988 to below RM50.00 (made in China) now.
This cost only RM39.00. China-made "Nesly"
wall sensor light.
Real value for money. I put this in my kitchen.


The more advance PIR sensor gadget in USA and EU has a built-in thermal sensor. This more advanced gadget can detect the presence of warm-blooded mammal. This is used to control lighting, heater and air-conditioner in home and office. As long as body heat is detected, the sensor will switch on the appliances or fixtures connected to the sensor.  And of course, this come with a price. 

This is a PIR motion sensor. This can be connected to
any existing light fixture. I fixed this onto one
of my ceiling light in my AV room.
Cost only RM39.00 but DIY to
connect two pairs of wires (L/N)


This gadget is suitable for indoor use only.
The cost ranging from RM39.00 to RM90.00
depending on the brand, PDL, MK, Philips or China made.
What you can see here are all indoor sensor lights. 


See how I fixed the motion sensor to my existing ceiling light.


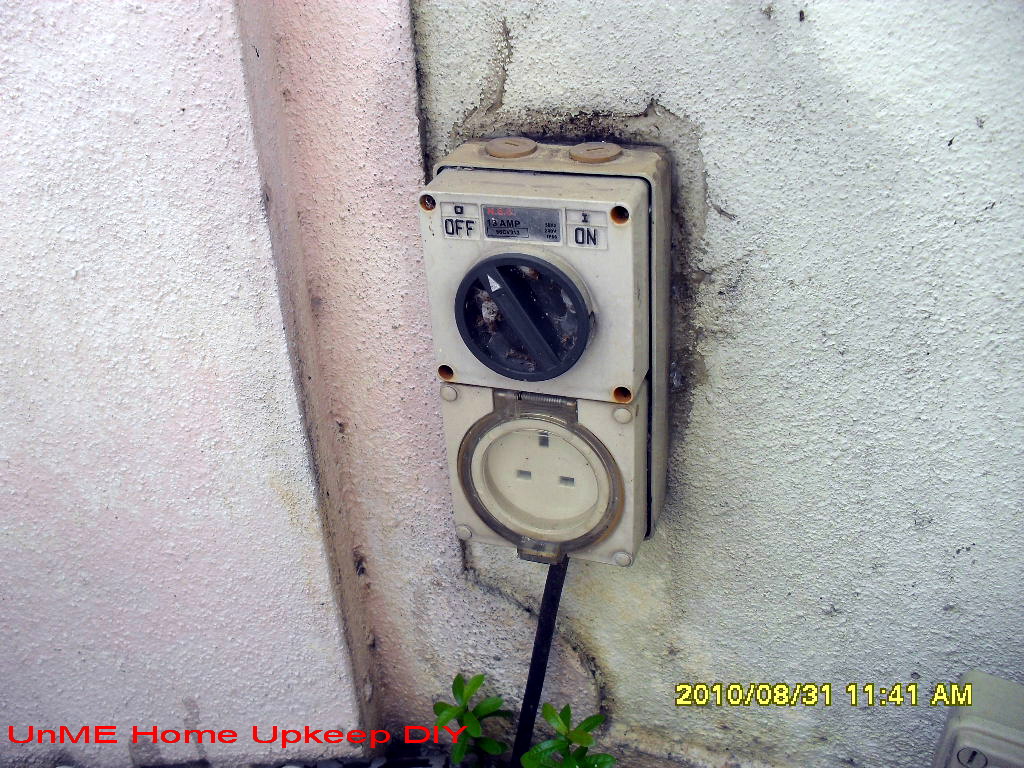
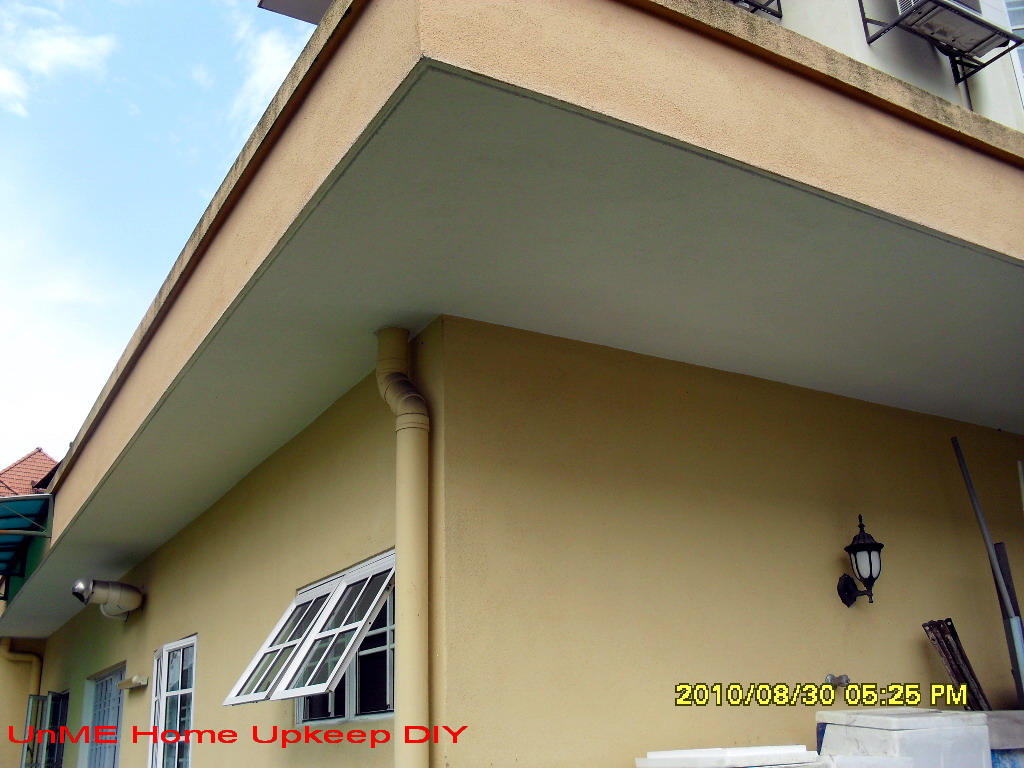
This is a weather proof outdoor sensor at the car porch


For outdoor use, the sensor light must be weather-proof.  I have outdoor sensor lights at every corner of the house. The light will switch on automatically as I walk in the garden at night and swithc off by itself after the set duration expires.


Another outdoor sensor.


Sunday, September 12, 2010

SWITCH/ 3-PIN SOCKET PROTECTOR

Outdoor water-proof switches
Outdoor water-proof  3-pin socket

Electrical switches and power sockets for outdoor use have to be weather-proof, particularly against natural elements of water and heat. These special switches and sockets cost about RM180.00 each compared to the ordinary ones ranging from RM3.50 to RM6.50.

In addition to the weather-proof switches and power sockets for the garden and fish pond, there are a few power sockets on the exterior wall of the building. Although shaded from direct sunlight and rain, they are exposed to rain splashing down on them during thunderstorms. Water then seeps into the socket and over time oxidize the copper element inside, disabling  the electrical contact point.
Outdoor switches for pond fountain pump and lighting.

Switch Protector with the 3-pin socket
A new and cheap gadget is now available. This PVC switch/ 3-Pin socket protector comes in two designs. One is in opaque white and the other comes with transparent cover. The price ranges between RM5.00 to RM13.00, depending on the quality of the PVC material and the brand. 


Spoilt 3-pin Socket.
See the fungus growing on the edges.
To install the switch/socket protector, one needs to unscrew the socket from the wall. For safety reasons, the power supply should be isolated or completely switched off.  
Isolate the electrical power at the MCB
switch board.


Slip the switch protector’s base plate onto the switch and secure the switch with a screw that is ¼ inch longer than the original screw. This is due to the base plate thickness and the soft pad linning . The longer screw is available from any DIY or hardware shop. It costs about 5 to 8 sen each.


No disconnecting of wires is required to install the switch/socket protector.   
See below, the socket protector installed with the 3-pin socket sitting neatly inside.


The flip cover should be closed when the socket is not in use, to prevent water from seeping in.

The spoilt 3-pin socket was replaced with this new socket,
with the socket protecter fitted.

Sunday, September 5, 2010

Harvest Rain Water for cleaning and garden use


There was a huge stack of used plastic containers at the back of my office building. They were used for storing chemicals for the factory use. On closer examination, I discovered the containers were well protected with galvanized iron (GI) cages and pallets.

Each container is equipped with an outlet stop valve and top filling port with a 5-inch diameter cap. The manufacturer of the container is Schutz Container System Incorporated, Lawrenceville, Georgia, USA. I noticed a label – RECYCLABLE CONTAINER.

Existing rain water downpipe
Wow! It’s a dream come true! I have been scouting around for some time for these! What a waste if I do not recycle them. With the help of my colleagues, I brought the container home and connected it to the rain water downpipe. 


nTo complete the pipe connection, five pieces of elbow, one T-joint, 10 feet of 4-inch diameter PVC pipe is required. Since there is no high pressure from the rain water, it is not necessary to seal or glue the joints.


At the outlet valve, a pipe reducer from 2 ¾ inch to ½ inch is connected to facilitate tap fitting and enable the usage of standard garden hose.


Downpipe cut for joining to the 
storage tank port


The total cost of the connection fitting is RM76.00(USD25.00). With this rainwater harvested and collected, I can save RM30.00(USD9.00) per month on my water bill.
Two inlet pipes connected to the
 top filling port holes


Completed connection to downpipe.


Two storage tanks assembled and connected.


Grease the elbow for easy joinning
Outlet valve before fixing the tap connection


Storage tank with outlet tap fitted.


Sunday, July 25, 2010

Modify and Repair Ceiling Exhaust Fan.

One afternoon, my maid came running to me and said “Tuan, itu kipas siling dalam bilik jatuh!” (Sir, the ceiling fan in the room fell).  Instantly, I knew she was referring to the ceiling exhaust fan. I ran up to the room and found the ceiling exhaust fan cover dangling.

I have many fans in the house but only one is the conventional ceiling fan whereas the rest are exhaust fans. An exhaust fan is more effective in ventilating the room.

Most exhaust fans have a cover secured by two pieces of tension springs anchored to the cover plate with a small metal clip and screw. It is designed in such a manner to facilitate easy removal of the cover for regular cleaning as well as cleaning the fan blade and the housing. However, there is one design flaw; the screw and grove are too short and the material too brittle to support the weight of the cover, resulting in the force of pulling, damaging it. The grove that held the screw cracked and then broke off.

How to fix this?  If you call the fan distributor or manufacturer, they will not be able to provide any solution other than replacing the cover. The cover itself cost more than 1/3 the price of a new fan.  Using an industrial glue or a melted glue with a glue gun can provide a temporary solution.  Unfortunately, it will give way after a short period of time.


The best solution, I have discovered, is to modify the way the tension clips are anchored on to  the cover. Drill a hole through the screw grove and use a similar diameter size bolt and nut to secure the tension clip. The required size bolt and nut are easily available from the DIY or your neighborhood hardware shop.  I have a big collection of screws, bolts and nuts of different sizes and shapes in my tool box.

After the modification, this is how my exhaust fan cover looks. It is as aesthetic as the original cover.  Nobody will notice the alteration done to the cover.   It is not conspicuous.  Can you see the modification done?    

Sunday, June 13, 2010

Repairing & Servicing Fan


Don't throw out your fan if it suddenly stops without any burnt smell.

I have an i-stand fan that I have used for more than ten years. One day it suddenly stopped turning, while still switch on.


 I was contemplating to cannabalise the fan for parts, which can be salvaged for other repair jobs. I have dismantled all removable components of the fan.    


After brushing  away the dust in the motor, I discovered there wasn’t any burnt mark on the motor coil.


The fan is a very simple electrical appliance. The heart of the fan is only the motor with a capacitor. If the motor is not burnt, then the  whole fan can be serviced and repaired. Either the carbon bush is worn out, the wiring is broken or disconnected or the spindle has jammed due to dust and dried grease. I sent the motor to my colleague, who is a qualified chargeman, for checking. He tested and confirmed that the motor is not burnt. He helped me to clean and grease the motor.
 
I re-installed all the components to the stand and now I have a fan that is working perfectly.

Most people would have discarded the fan as it is not justifiable to repair. The repairman would easily charge RM90.00 (USD28.00). That is RM60.00 (USD19.00) for transport and RM30.00 (USD9.00) for service charges. A new 16” stand fan costs only RM130.00(USD40.00). My own repair cost threshold for any appliances is below 30% of the cost of the new appliance of equivalent specifications.
 
If you are a DIY buff, you can repair at your own leisure hours, without costing a cent. 


WARNING!!! For safety  reason, always switch off the power and disconnect the power supply cord before dismantling any electric appliances.